Search This Blog

Thursday, October 6, 2016

Apples-In-A-Blanket

The kiddo and I recently went apple picking with a bunch of friends. We came home with a great stash, which means we had more apples then we would ever be able to eat before they went bad. This usually means apple sauce and apple pie galore! But the kiddo is over anything pureed, and the hubby and I don't need to split an apple pie, especially with the holidays right around the corner (eek!). Which means I needed to come up with something that was handheld and freezable. I thought mini apple pies, but I couldn't bring myself to make an apple pie without all the sugary deliciousness, plus they would probably resemble the pot pie that I made (and those were deemed uneatable by the kiddo). Then it hit me - apples in a blanket!
Simple, handheld, and lightly sweetened! With a bonus cinnamon flavored dough! I thought about putting some cheese slices in there too, to make them almost dinner appropriate, but I got lazy.
I hope these are a hit for your family!

What you need:

Dough :
2 Cups Flour
2 tsp Cinnamon
1/2 tsp Salt
1 1/2 stick Butter
3-6 Tbsp Ice Water

4 Apples
1/8 cup Sugar
Egg (For egg wash)

Food Processor
Apple Cutter
Small bowl
Rolling Pin
Pizza Cutter

Let's Bake:

- The dough needs to chill so be sure to make it first
- You will be using your food processor to make the dough (Or your store by picking up your favorite pre-made dough)
- Add your flour, cinnamon*, salt, and butter (sliced up) to your food processor
*The cinnamon in the dough does give it a brown coloring, so if you have a picky eater, skip the cinnamon in the dough, and maybe put it on your apples.


- Pulse until the ingredients come together


- Then add one tablespoon of water at a time until your dough becomes a ball ( I needed to add 6 tablespoons) 


- Remove the dough from your food processor 
- Kneed the dough into a ball, and form the ball into a disk 
- Wrap the disk in plastic wrap, and let it chill for 10 minutes minimum - I did it for about 30 mins 


- While the dough is chilling use your apple cutter to slice up your 4 apples* (you can obviously just cut your apples as well)
*I didn't peel my apples, because I wanted my kiddo to recognize the apple and want to eat it, but please feel free to peel your apples as well. I probably will next time around, because the skin is hard to bite though for little teeth
- I ended up with 40 slices of apples
- Toss the apple slices in 1/8 cup sugar. Feel free to add more or less sugar to your liking. I was making mine kid friendly, so I wanted it sweetened, but not overly sugary.


- Pre heat your oven to 350
- Once your dough is chilled, remove it from its plastic wrap and place it on a floured surface 


- Roll your dough out as thin as you can get it (I really need to invest in those rubber bands that go on your rolling pin) 
- Using your apple as a guide take your pizza cutter and cut a strip in the dough.


- Cut that strip in half, and then wrap up your apple piece


- Trim your strips as you see fit
- Each strip I had could cover two apples
- Using your egg wash, gently cover each apple in a blanket 
- Place in your 350 oven for 25 mins, or until your dough is nice and browned 


- Try not to eat all of them at once!

Enjoy! 


Monday, September 19, 2016

Chicken Pot Pie Pockets

When one of my favorite instagrammers posted this recipe, I was sold. Pot pie is one of my favorite childhood meals, and I couldn't wait to share it with my kiddo! I had visions of making these all fall and winter, and passing on the love of pot pie...
He hates them. My heart hurts.
But the recipe is too good not to share.

What you need:

2 chicken breasts
1 cup frozen mixed vegetables
1 small onion
2 Tbsp butter
2 Tbsp sour cream
1 cup chicken stock
2 tsp corn starch
Fresh Pastry dough, or your favorite store bough variety
Milk to brush pies (or egg - see notes in recipe)

Small sauce pot
Pan to Saute
Baking sheet
Parchment Paper
Rolling Pin
Mason Jar top

Let's Bake!

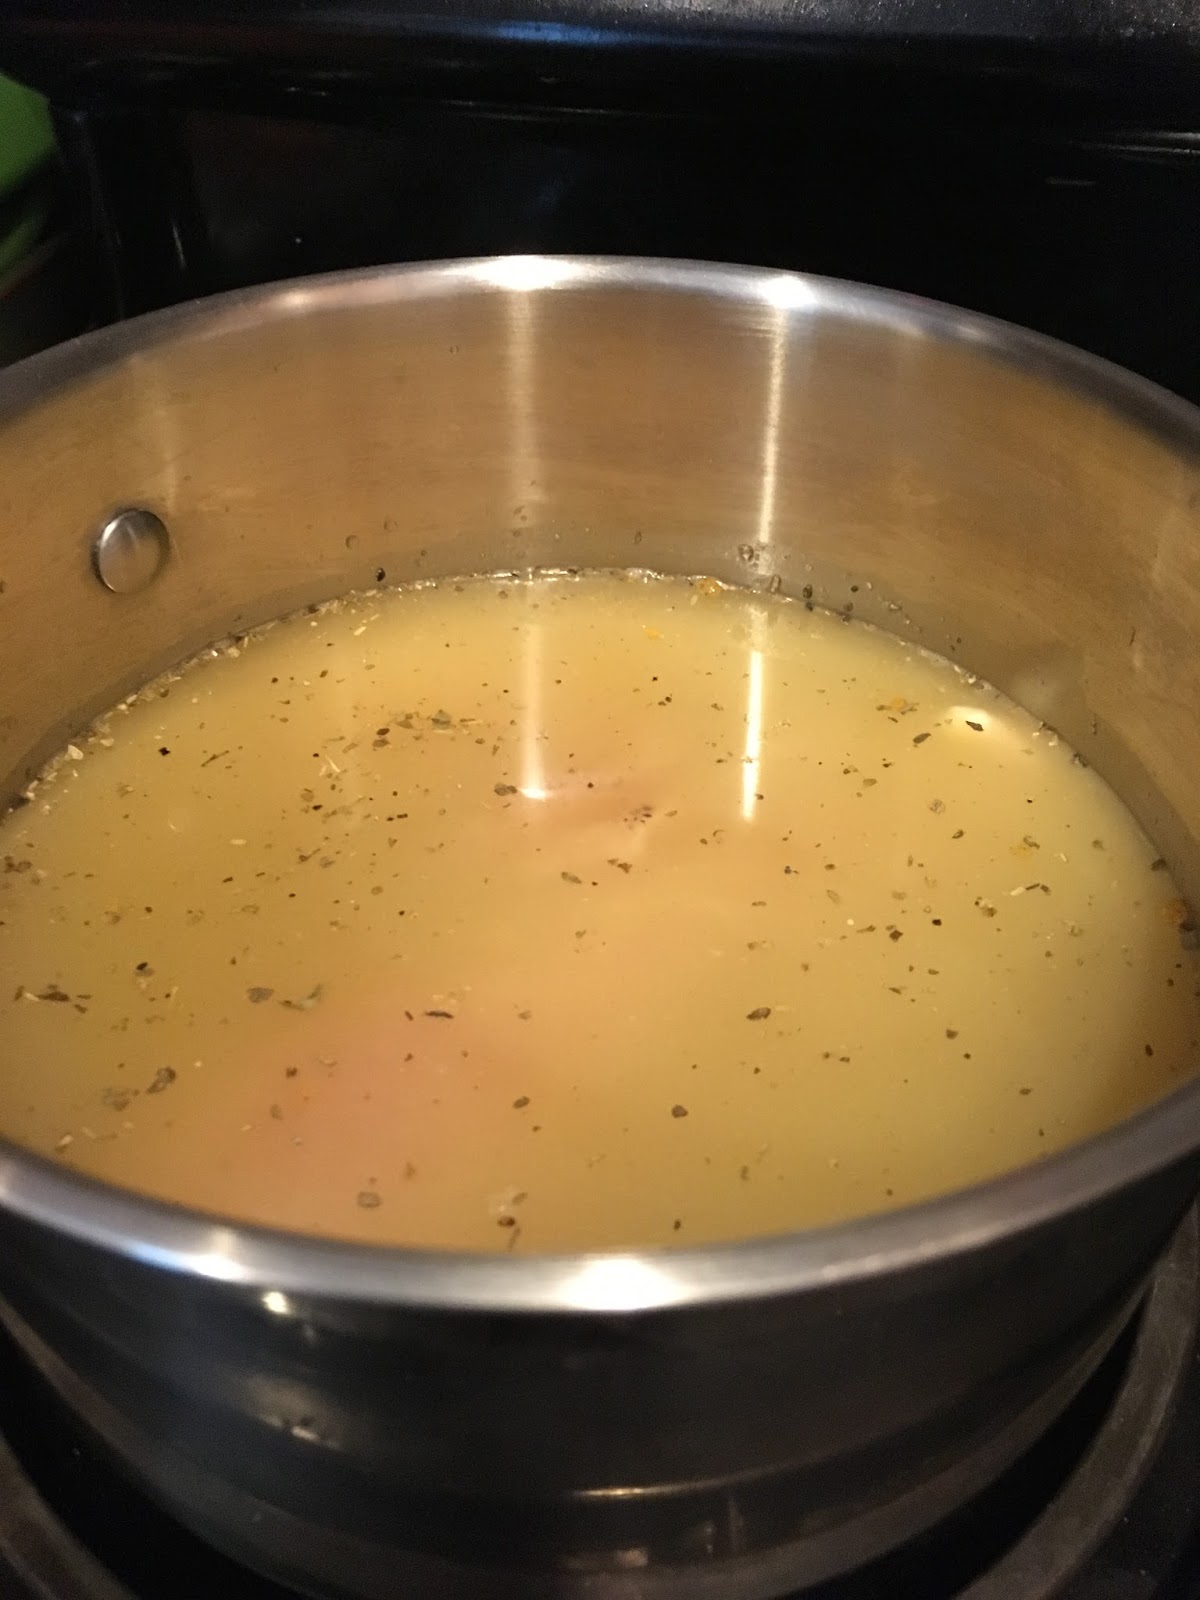
- Start by putting your chicken breasts into your small sauce pot.
- Season your chicken how you want. I used salt, pepper, and some curry for some color.
- Cover with chicken stock and simmer for about 20 mins or until chicken is cooked through


- While the chicken is simmering, cut up your small onion
- Place cut up onion and butter into sauté pan


- Check your chicken for doneness, then shred it


- Add your chicken, and one cup of the stock (add more from your box if too much boiled off) to the onions

- Lower your heat to about medium and add in your sour cream and stir until everything incorporates


- Let the sauce thicken a bit while you are stirring, then add in your corn starch 


- The corn starch with really thicken the sauce. It with go from a loose soup to a more gravy like consistency that will be slow to come back together.
- Once you reach the gravy stage add in your frozen mixed vegetable and stir for 5 minutes or until vegetables are cooked through


- Take the sauce off of the heat and let it cool before you use it

- Pre-heat your oven to 350

- Get your baking sheet ready by covering it with parchment paper
- Start rolling out your pastry dough
- Using the top of a mason jar cut out two circles (top, bottom)


- Place the bottom on the baking sheet, spoon your cooled filling into the middle of the circle
- Place your second circle on top and using a fork seal the two circles together


- Brush the tops with milk* and pop in the oven for about 25 mins or until golden brown 
* I have to say I was curious to see how milk worked as opposed to an egg wash. I was not impressed. Since I won't be making these again, I can't try the egg, but I would recommend it. 


- Enjoy!

I hope your kiddo enjoys this childhood classic more than mine does!


Thursday, September 8, 2016

Zucchini Bread Pancake

Breakfast is a great meal to sneak vegetables into. Our kiddo loves scrambled eggs, little does he know that they are packed with shredded zucchini or spinach. I wanted to spice up breakfast one weekend and I thought how can I sneak some veggies into a pancake? This is what I came up, I'm thinking of doing a carrot cake variety too!

What you need:

1 cup flour
1 tablespoon cinnamon
1 tsp baking powder
1 egg
1 cup milk
1 tablespoon melted butter
1 cup shredded zucchini
Unmelted butter for cooking

Skillet
Shredder

Let's bake:

- Start by mixing together your dry ingredients
- In a separate bowl mix together your wet ingredients
- Add your wet ingredients to your dry ingredients


- If your batter seems thick, make sure you added all the ingredients. My batter was really thick, and it was because I forgot to add the eggs
- Now shred your zucchini, I was aiming for a cup, but I was a little under, and add it to your batter 


- Butter your skillet and measure your batter onto the skillet


- You know they are ready to flip when they start to bubble


- Once they are cooled they are good to serve


Things to be aware of:
1. The cinnamon makes the pancakes have a "whole wheat" look, so if you have a picky eater, I would put less cinnamon into your pancakes. 
2. My kiddo doesn't seem to care that the pancakes have green flecks in them, but if you have a visual eater, I would recommend using a very fine shredder, and even peeling your zucchini prior to shredding to eliminate the green color showing. 

Enjoy!


Happy Happy Birthday

Our little kiddo had a birthday last month! We threw together an airplane themed party and everyone had a blast.
I decided to take on "the making of the birthday cake". Sheet cakes are great, but they are way too expensive, someone always cuts the pieces too big, and then no one eats it. Leaving me with a sheet cake that can feed 40, that is gone in a week, and I'm left feeling sorry for myself.
Well not this time. No sheet cake for us! I made a pull-apart-cake. They are all the rage, and who can refuse a cupcake??
I figured Pinterest would't let me down when it came to finding a cake template. Well it did. I was shocked. It did show me that the best way to make a pull-apart-cake is by practicing with pennies, and that was a lifesaver!
So while this isn't a recipe, and the cupcakes are most definitely of the boxed variety, I thought I would put my airplane pull-apart-cake template out there for the world to see.
Please keep in mind that I am not an artist, and while I am very proud of my cake, I hope that those of you out there are better cake decorators than I.

**side note. Did you know that red icing is REALLY hard to make? Like next to impossible. So I would recommend either buying pre-made red icing, or adding a little coco powder to your red/pink icing - that is what I did and I was pretty happy with the results! Pinterest for the win!

Enjoy!


Penny template
Finished Masterpiece!


Monday, August 8, 2016

Blender Banana Bread (with Almond Flour)

So I had 3 super ripe bananas just begging to be made into banana bread... so says every other blog. What really happened is that I picked up my banana bunch, and they all fell off the stem and on to the floor. The ones that didn't explode upon impact, got put into a plastic bag so they could be frozen and made into banana ice cream.
Then I thought, maybe I can make a nice snack with these bananas. Thats when I thought of banana bread, so no it wasn't my first thought like all the other bloggers out there - clearly they are far superior to me.
I wanted to make the banana bread without flour, because I've been noticing that the kiddos snacks and meals have been grain heavy lately. But this recipe can easily be made with flour as well. Added bonus - I made this all in the blender! Easy to make and easy to clean up! Win. Win.

What you need:
Blender
Loaf Pan
Parchment Paper

1 1/2 cups almond (to make into almond meal)
2 Eggs
1/4 cup Olive Oil
3 Bananas
1 tsp Vanilla
1 tsp Cinnamon
1 tsp Baking Powder
1/2 tsp salt

Let's Bake:

- Preheat your oven to 350
- Grab your blender
- If you are making your own almond flour add in 1 and 1/2 cups of sliced almonds into the blender


- Blend or pulse until you reach a find powder.

- When you have reached your desired consistency of almonds flour, you can add in the rest of your ingredients - Eggs,  Olive Oil, Bananas, Cinnamon, Baking Powder, and Salt.

- Blend your ingredients until smooth and pour into your loaf pan that is lined with parchment paper
- Bake for 35 mins, or until a tooth pick comes out clean 
Just look at the golden brown deliciousness! 


- Enjoy! 


Thursday, July 28, 2016

Granola Bars

I love granola bars. The chewy one preferably. The crunchy ones are just one mistake away from being granola, and then I'm going to need yogurt or milk, and that is a whole thing. Especially for a kiddo. So soft and chewy granola bars are the way to go for us!

I do have to confess. The first time I made these I made the mistake of putting the oats in first, then my wet ingredients. And I over estimated the amount of oats that I needed, so I was stuck playing catch up with my wet ingredients, and I just ended up with a crunchy granola bar. While my kiddo could have cared less, and loved eating his granola bar, I had a huge mess on my hands. I needed to find a way to keep this snack intact - for my own sanity, and so more than a crumb got in my kiddos mouth at a time.

Here is my final recipe. I am much happier with it, and my kiddo can't get enough of them! They keep fantastic in a plastic bag, and freeze even better. My kiddo even eats them frozen (which gives me more than two seconds before he needs a second one!)

What you need:

Small sauce pan
Large Bowl
3 quart Corning ware baking pan (that's what the bottom says)
Parchment Paper
Pizza Cutter
2 cups Oats
1 cup Peanut butter
1/2 cup Date Paste (or honey if your kiddo is old enough)
2 TBSP water

Let's Bake

- Set oven to 350
- Into a large bowl measure out 1 cup of your oats and set aside.
- Scoop out your second cup of oats, but DO NOT add it to the bowl.
- In a small sauce pan, and your 1/2 cup of date paste and your cup of peanut butter and melt on medium heat.

- Constantly stir the mixture. You will be stirring for longer than you think necessary. This is when you add in your water slowly if you feel that they mixture is seizing. I added in one tablespoon at a time.
- You are looking for the two to combine, and then for the oils in your peanut butter to start to come out. Since we aren't using honey the texture is going to be a little thicker. I hope the picture helps


- When you have reached your desired consistency scoop it into your bowl with your one cup of oats
- Incorporate your mixture with the oats, then add more oats until your dough comes together completely*. 
*This means that all the oats stay in the mixture AND your dough stays together when you grasp it in your hand. 2 cups was enough when I did the recipe, but always be prepared for surprises. You can always add more oats - you can't take them out :(
- Once you have your dough, press it into a parchment lined dish - smaller dish for thicker granola bars
- I pressed raisins into mine, but they all fell out after. Maybe I will mix them in next time.
- You can go no bake with these and let them sit in the fridge before serving, but I cooked mine for about 20 mins to have them come together. 

- Let them cool, then pull the parchment paper out of the dish and cut with a pizza cutter!
- The finished product! I hope you enjoy them. My kiddo did! 

Sunday, July 17, 2016

Date Paste

So I've been meaning to try this recipe out for a long time. I saw it a long time ago on Pinterest, and in true Pinterest fashion, I pinned it, and never looked back.

Then the other day I wanted to make the kiddo a granola bar. All the recipes called for honey. As we all know honey is a hard no until kiddos are at least one. You know botulism.

So it got me thinking, what can I use as a honey substitute? This wasn't an easy task. Honey is unique. It is sticky and creamy all at the same time. It can be melted down and it can be hardened. I knew that whatever I came up with, wouldn't hold a candle to honey, but I was going to try.

This seemed like the perfect time to try out date paste. I figured that the dates would simulate the sweetness of honey, but I wasn't sure about the stickiness.

Turns out that this date paste is delicious! I've used it in yogurt to sweeten it for the kiddo, and I even have plans to make a cinnamon roll! However, the granola bar is to die for and I will be posting that soon.

But first, the date paste!

Date Paste 

What you need:
16 Dates
2 Cups Water
Bowl
Food Processor
Tablespoon

Let's Bake:

So this recipe is great, because you can make it and forget about it. The recipe I worked off of said over night is best, but my life got a little busy, and well it sat for longer than that oops. I'm sure no one can relate.

- Pit your 16 dates and place them in a bowl

- Add 2 cups of water to you dates
- Cover and let sit

Are you back with me? I hope that you have found so free time to get to the second part of this recipe!

- Place JUST your dates into your food processor

- DON'T DISCARD THE WATER THEY WERE SITTING IN
- Using your tablespoon slowly add in water until you reach your desired consistency
With no added water 

-Mine was 8 TBSP
After adding 8 TBSP of water
Enjoy! Let me know all the ways you decide to use date paste!